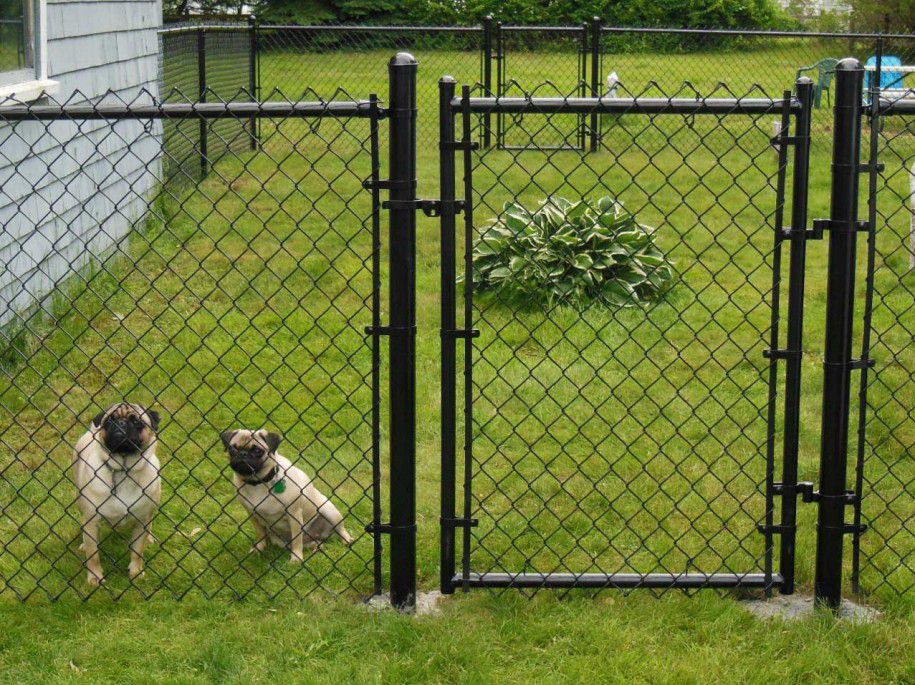
Installing a chain link fence can take a few days, depending on how large the area is and the equipment that you have. Renting an auger or post-hole digger can save bundles of time by allowing you to dig clean, straight holes much faster than you could with a shovel.
Whatever equipment you decide on, the process of putting up a chain link fence can be broken down into a few steps. Please check the following ones.
Step 1: Measure and Mark
The first step of your chain link fence installation project is to trace out the line posts your fence will follow. Now, this is the first essential step whenever you install a metal fence of any kind. Remember to mark spots for your posts every ten feet. Using a roll of thread strung between stakes in the poles’ positions can help keep things in line. Otherwise, spray paint works well to mark where to dig.
You can even use a laser or other device to align the poles. Whatever method you use, just make sure to keep things straight.
Step 2: Dig
Get your shovel or auger into the dirt and take your fence post holes down to the width and depth your city’s code calls for.
You want the walls of each hole to be straight to prevent angled poles. Keep the best of the removed dirt close to each hole—you’ll be using it to fill in around the posts once they’re set in place.
Step 3: Put in the Poles
Ensuring that the poles are upright, level, and solid is essential to keeping your residential chain link fence standing for years to come. To make sure your line posts are secure:
- Mix up concrete – Once you have your posts in the right position, you need to quickly fill their gate post holes with concrete. Mix some up to the manufacturer’s instructions to have on hand and ready to go—just work quickly before it sets!
- Lower and level your line posts – Give the chain link fence post a firm drop into the hole and shimmy it back and forth until it’s even and at the right fence height for your selected mesh. Use a level to make sure it’s flat and a tape measure to keep it centered in the hole.
- Fill the hole – Keep the pole in place while gently filling the area around its base with concrete. Take the concrete up to about six inches from ground level. You can jiggle the pole around to remove air bubbles from the concrete; just make sure to realign it before it sets.
- Repeat and backfill – Install all your poles, then top the gate post holes off with dirt once the concrete sets.
Step 4: Install the Hardware and Affix the Top Rail
Put the tension bar fasteners on the end posts; then, put the other fasteners, connectors for the top rail, and end caps on all of them. If you’re going to affix part of your galvanized chain link fabric to a building or existing wall, ensure the connectors are securely attached and aligned.
Once everything is attached, and in a straight line, you can run the segments of the top rail between the posts.
Step 5: Run the Mesh
Weave a tension bar through the end row of squares of a roll of fence fabric. Securely fasten it to an end post using the connectors.
Run the mesh fence fabric from line post to line post, pulling it taught and fastening it tightly to each pole as you go. Help from a friend or special equipment can make this process significantly easier.When you get to the end of the roll, slip in the other tension rod and fasten it to the final post, and secure it with a fence tie. Repeat the whole process if your space requires more than a single roll of mesh.
If you have excess mesh at the end, trim it off and save it for the future. Make sure to twist and flatten any pointy bits sticking out afterward.
Step 6: Twist the Ties
Secure the wire ties to the mesh every foot along vertical posts and every 24 inches along the top rail. Twist them tightly, bending the wire ties around themselves several times to keep the mesh fixed in place.
Once your final fence tie has been twisted, your fence is complete. You can sit back and admire a job well done and a home well secured.

